If you are a web designer or developer, you have various methods to manage the hosting account of your client. However, the possibility of hosting all of your client’s websites on your account could become messy. Having your clients give you usernames and passwords to their accounts is possible, but this isn’t secure or safe.
Hostcano provides one login for all your clients, safely putting clients’ websites at your disposal to make it easy to control their accounts with existing Hostcano products. It comes with a host of other advantages as well, but for this article, we’re going to concentrate on how you can use Hostcano to manage your clients’ accounts.
There are many ways to log into your Hostcano Dashboard. Knowing these will make managing the website’s content and settings more efficient.
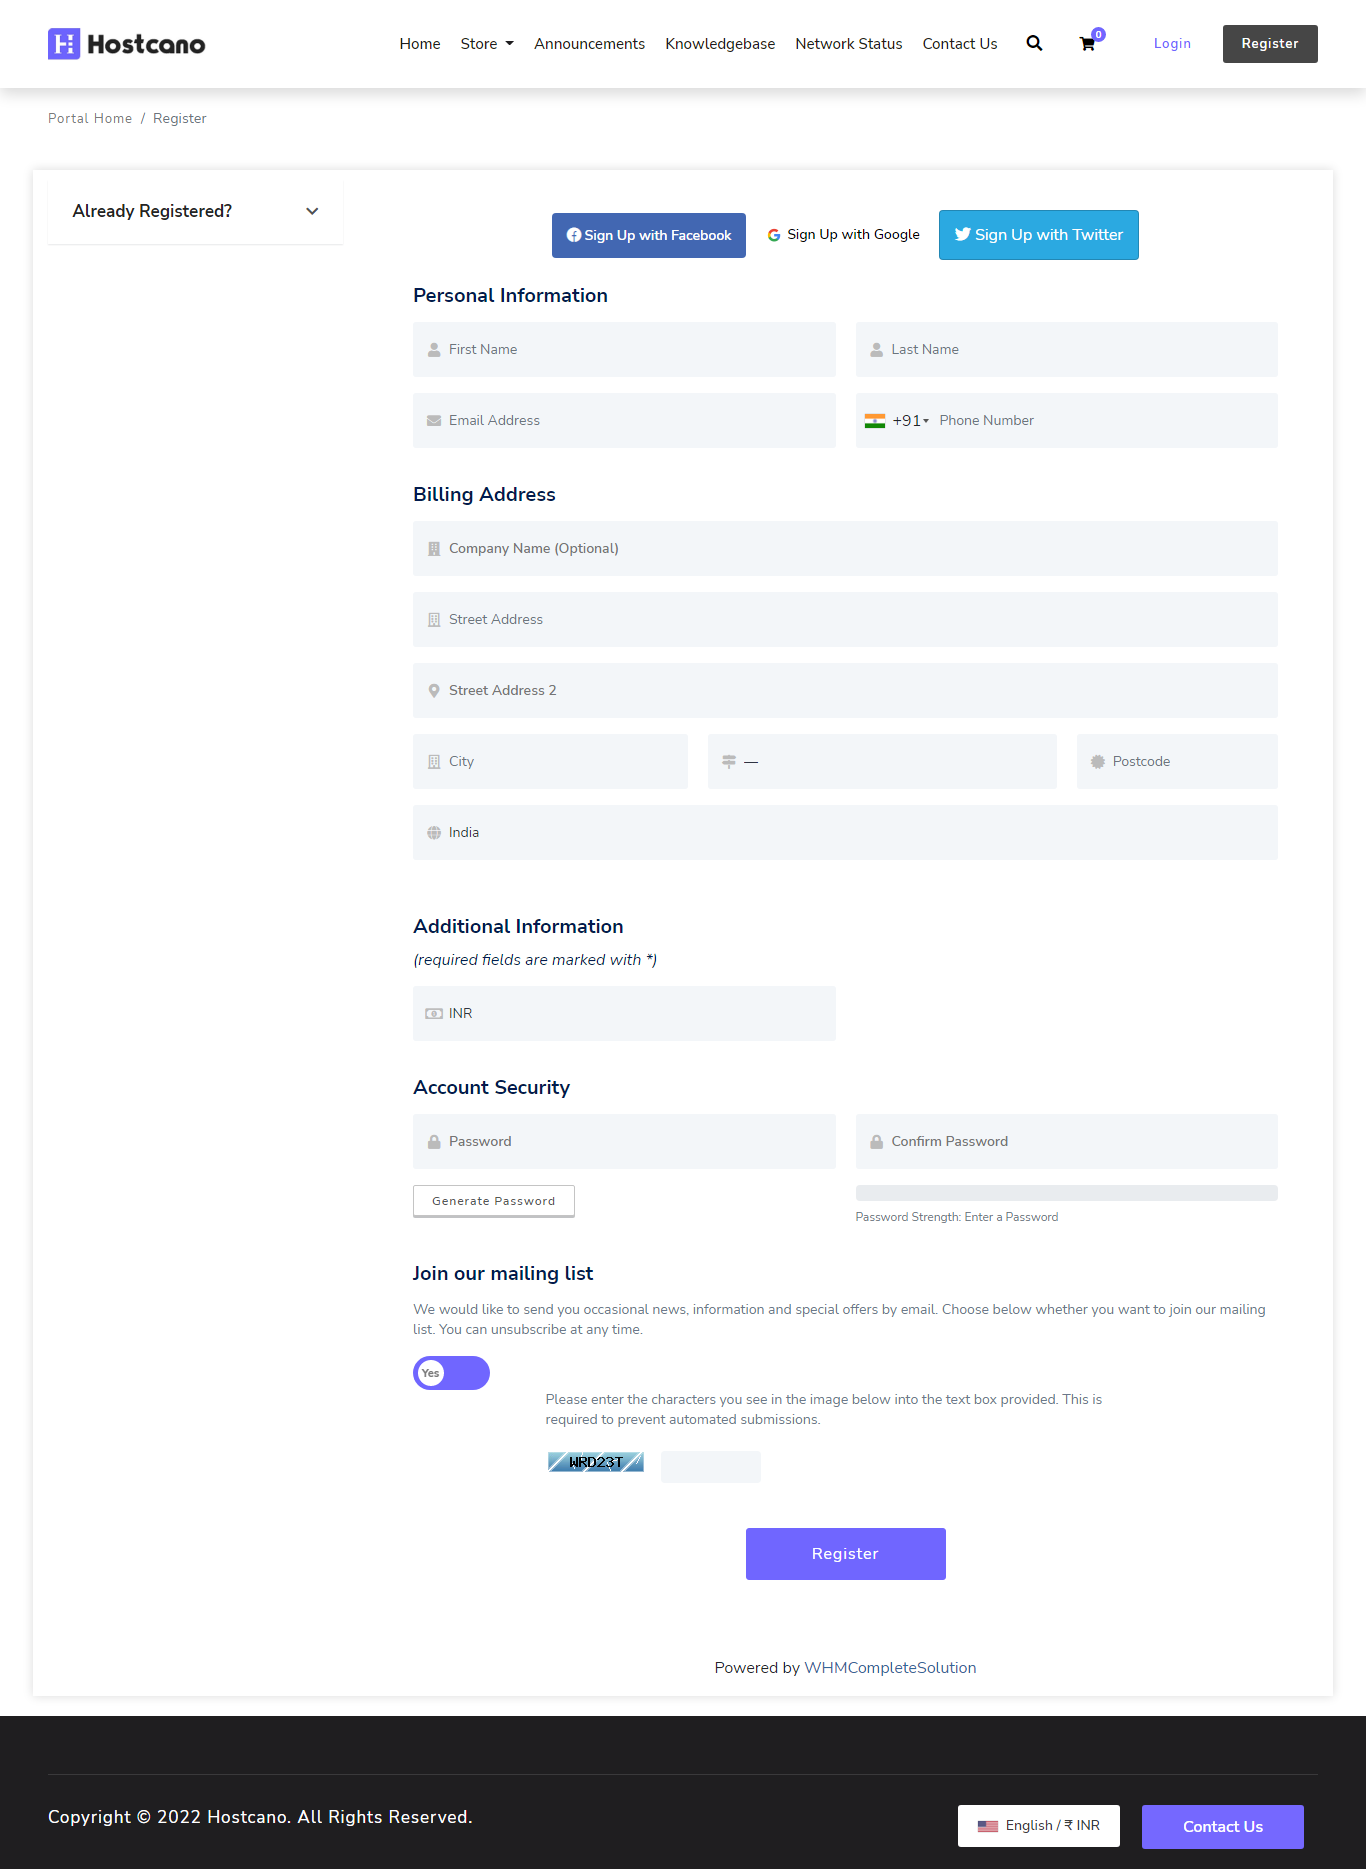
It is easy to navigate directly to Hostcano’s Hostcano Register page and enter your business’s details. Additionally, you can sign up using Google and Facebook, and there’s a Twitter sign-up option for Hostcano’s customers.
It’s up to you what is the best option you would consider to login to Hostcano.
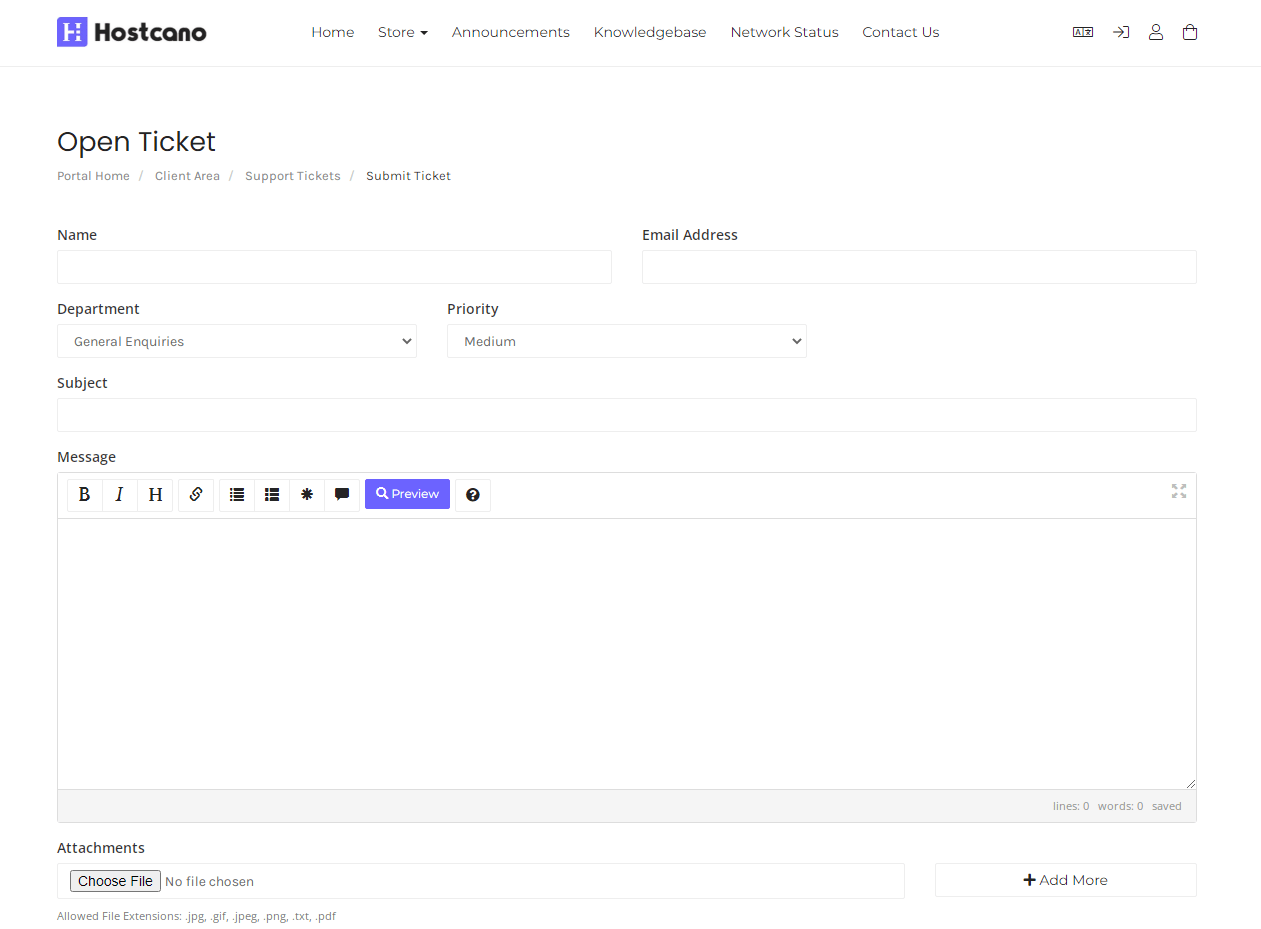
Take a look at the image below for a more detailed look!
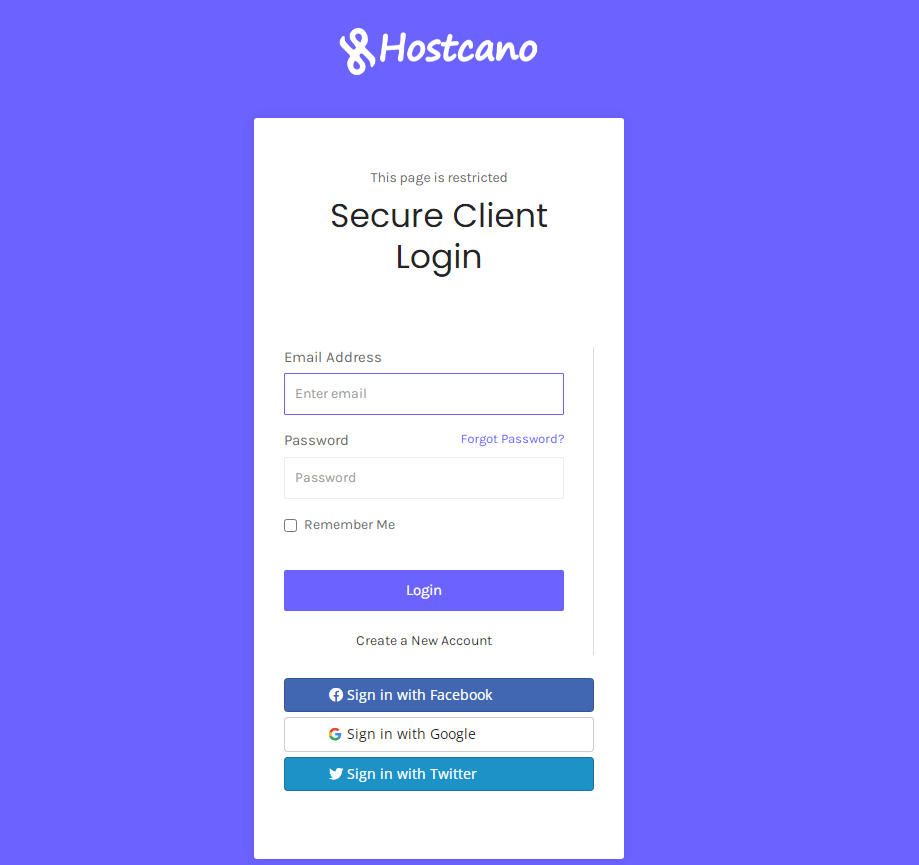
A commonly used way to access your Hostcano Login Page is through direct hyperlinks.
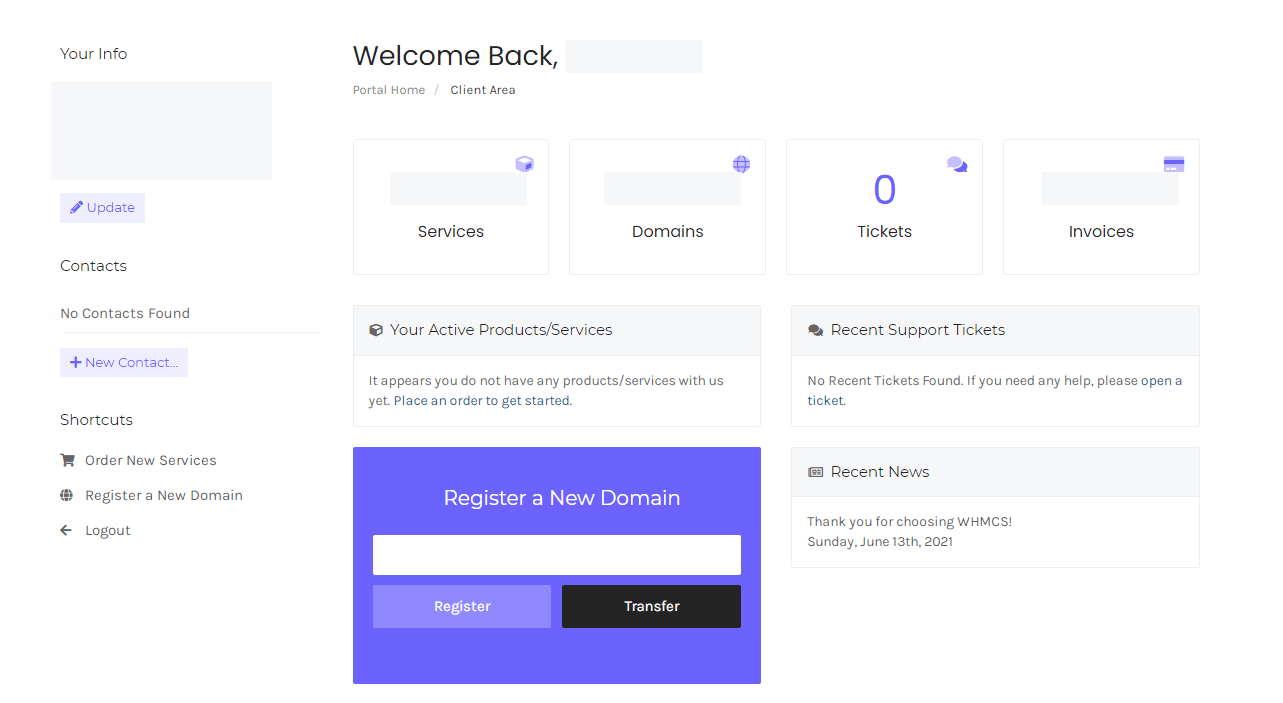
Once you’ve signed into Hostcano’s Hostcano clients login page and are logged in, let’s take a second look at the first items you notice at first glance!
Here we go!
First of all, you must request access
Before you can log in to an account for your client, you’ll need to connect your login credentials to your Hostcano client account and make sure you send the request. This step is simple.
From the menu left of the Dashboard, select the Clients section.
After you have logged into your Hostcano client’s area, you’ll be happy to know that your client area can be used to look over your invoices, make payments, see the details of your hosting account and help tickets. To login to the client section, you must have two things:
- E-mail address for registered users
- Password
There are many alternatives to the tickets, domains, services, and invoices.
In addition to informing you that support tickets are where you can look up the status of your support inquiries of Hostcano’s that are assisted by the Hostcano professional team, which provides all-hours and seven days week assistance all year round.
The profile of the client has a handful of important areas.
- On the right side, you’ll check the most recent interactions between you and your client.
- The person’s name is below a simple link to sign in directly to their account—log in as a client.
- Access Level can be a short link to check the current level of access and the option to change it.
- Add a domain link to a virtual shopping cart with Hostcano products that you would recommend to the customer to buy
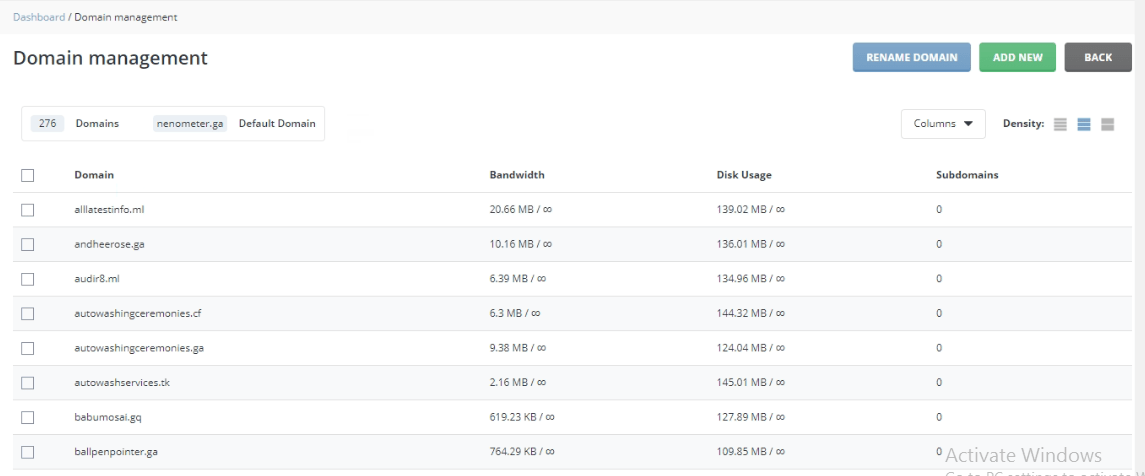
- Domains will list all domains in their account, and most domains include an easy way to manage directly into it, saving you time. It is where you can manage domains, renew your client’s domain and add a domain, or even view the subdomains section.
Check out similar examples, including the Hostcano domain management examples.
Add domains to your client
Clicking the Add Domains hyperlink opens a catalog for you to look through. It allows you to find and transfer domains and includes almost every product Hostcano provides. On your catalog, you have the option to select the tiers that you want for each domain, as well as the duration of each term. After you’ve set your cart up for your client, the next step is to click go.
Tips to Remember Your Hostcano Login
There are other ways to access your WordPress dashboard quicker. For instance, you can save your WordPress login URL or use the password manager.
Here are five ways to make login more simple:
Add a Bookmark URL to the Browser
Include your WordPress login URL to the bookmark bar in your browser to ensure that you don’t need to type in your WordPress login URL every time. It also prevents you from entering the wrong login address.
Every browser uses its way to save the default URL for login to WordPress:
Google Chrome Method
There are three methods to bookmark a website using Google Chrome:
- Click on three dots, three dots located on the right upper corner of your browser, and choose Bookmarks bookmark this page… to mark the tab.
- Press Ctrl + Don on your keyboard.
- Tap the star icon right next to the URL for login.
Mozilla Firefox
When using Mozilla Firefox, it is also possible to bookmark a website by hitting Ctrl+D on your keyboard or by pressing the Star icon. Another alternative is to open the hamburger menu in the upper right corner and select Bookmarks > Bookmark the current tab.
Wrapping it up
You must log into Your Hostcano Dashboard to build, customize and manage the content on your website.
To log in for access to the Hostcano Client Area, type in your website’s URL using any of these routes:
Log in using your password on the page to access your Dashboard.
We suggest creating a customized user login for your admin page if multiple users use your site.
If you do not want to enter the admin password, sign in to Hostcano directly via the Hostcano login page and use Google, Facebook, or Twitter.
However, if you find yourself stuck, we’ve provided some suggestions to help you remember your login details and help you troubleshoot problems with your login.
If you found this a good and insightful article to read, do share it within your social and other networks so that your friends and colleagues will also find this post a useful read and know more about the Hostcano hosting and client area login knowledgebase.
Please comment in the comments section below for any queries or suggestions you would like to share.
If you really enjoy reading this article, you can check out other articles on
