

We wouldn’t have to be concerned about changing web hosting providers in a perfect world. Your site would be able to remain in the present hosting provider’s site with an excellent speed of loading, low cost, and 100% uptime.
Like any other move making your website move to a new host may be a bit daunting, mainly if you’ve never previously done it. But it doesn’t need to be. In fact, with the guide we’ll give you in this article, you’ll be able to transfer every website to a new web hosting server.
If the web hosting service you currently use does not provide the required services, it may be time to switch to a new one. Moving your site to a new web hosting provider doesn’t need to be as challenging as moving into a brand-new home. It’s relatively simple if you take the proper steps.
But, it isn’t easy to attain. New and emerging technologies attempt to develop innovative and advanced methods to make the procedure as easy and efficient as possible. Even though they are using technologically advanced methods, in the real world, it is evident that a typical customer will encounter a certain amount of downtime while the process is operating.
The amount of downtime a website owner experiences when it’s moved from one host platform to another primarily depends on the website’s genetics. Based on this fact, any transfer to a site could result in it experiencing anywhere from 12 and 72 hours in an average scenario.
Let’s examine the various actions involved in moving a website from one hosting provider to another.
What is the meaning of Website Hosting Migration?
Migration of your website’s hosting is a procedure in which every page on your site gets transferred to new pages with a brand new web hosting service without affecting your rankings or changing your website’s design.
The ideal transition occurs when the site is fully relocated to another hosting provider without any visible change.
Migration of your website can be complex, mainly if you cannot afford to go inaccessible for a set period. The most significant delay in getting your site’s DNS registration transferred to your new service can take quite some time, depending on when you start the process. We’ll discuss this in more depth, but it’s essential to keep the timing in your mind.
This post will show you how to transfer a website to a different domain. Use our step-by-step guide to help you with manual migration and build your strategy around it. The steps you follow may not apply to you. So only use the information you need and skip the rest.
Steps to Change the Look of Your Website
Register with a web host which offers Free Site Migration
Why bother about the process of moving your website? Certain hosting providers offer free support for site migration and can assist new users in moving their sites at no cost.
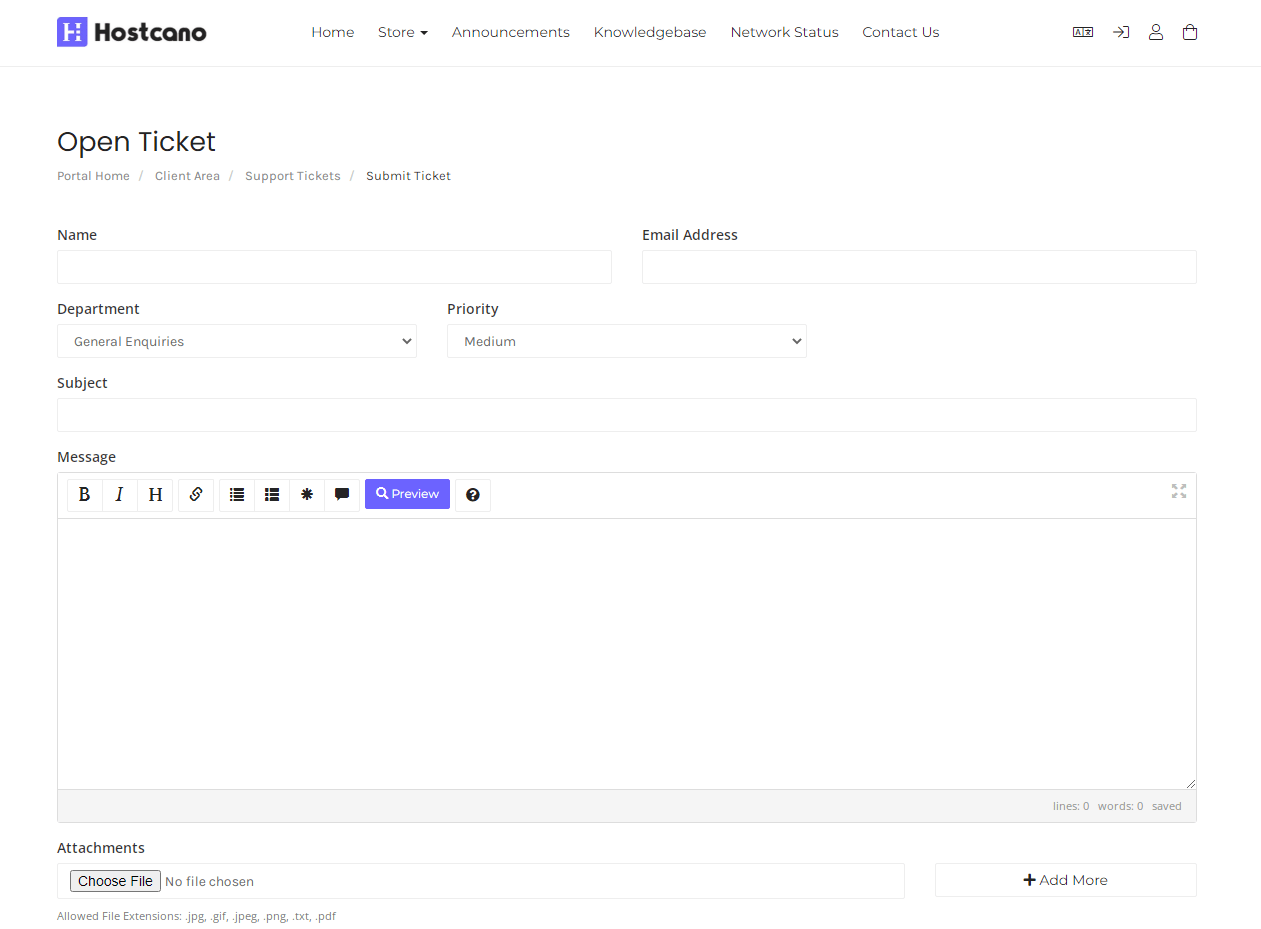
Have a glance at the Hostcano customer support to submit queries regarding your site migration to Hostcano
Request for migration with your new web hosting provider. The most you will need to do is enter login information at the old host: hostname and control panel login and FTP logins, and the new host will handle the rest.
Start Migrating First, Cancel the Old Host Later
Don’t cancel your current web hosting account before the time when the migration process is completed.
The most frequent mistake made by webmasters who are new to Webhosting (or transferring their sites from one server to another) is to immediately contact their previous host to inform them about the decision to transfer their website to a different hosting provider’s servers.
Although it’s a great idea to notify your previous web host promptly regarding any future changes, failing to do it before the change is appropriately executed could cause the interruption of service and the complete loss of data and database information as soon as possible the cancellation request is made.
Files on your website can be moved using FTP
You must transfer your site’s files to the new host in the next step. With a massive website, it could take a while, but you’ll have to do only a few minutes of manual work then you’ll be waiting.
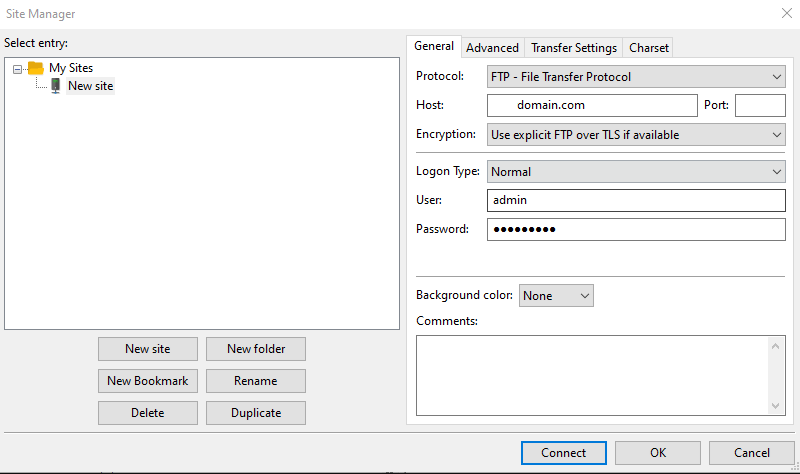
The most efficient method of moving the site’s files is through FTP. To connect using FTP, you’ll require FTP software such as FileZilla. FileZilla is an excellent choice for those unsure where to begin. However, there are a lot of other good FTP clients.
Alongside your FTP program, you’ll require the FTP credentials (host username, password, username port) from both your previous host and your new host. You should be able to access these via your hosting dashboard; however, you may contact your host’s support staff for assistance if you need it.
Specific FTP applications allow you to transfer files directly between two windows. However, FileZilla isn’t currently able to offer this feature. If you’re using another FTP application, test to determine if it allows you to move files directly.
After the download is complete, upload all those files using Windows 2 (your new host). It is easy to drag and drop all the files you downloaded from your PC into your FileZilla interface.
If you have an excellent site, it could take some time to transfer and download all the files. Therefore, walking away and taking a break while you sit is possible.
Create a Backup of The Website Files
In simple words, the process is similar to the packing and moving process you go through when moving to a new home. First, you must ensure that the new location you’re moving to has the tools and equipment to ensure your household’s comfortable and efficient operation.
Only then can you move to the new hosting. Moving in before proper backup in is not recommended, and finding the best way to get your possessions to the new location is. It could result in some hours or days of pain and general chaos.
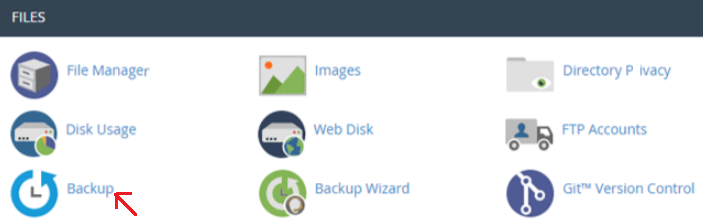
Have a glance at the image that shows the Hostcano Backup section that can be found under the Hostcano cPanel area:
You must similarly view the process of transferring your website’s data to a new server.
For smooth operation and no downtime for your site, make a proper backup of your database and files and all the data it stores on the host you are currently using. To access the compressed backups of your database and website files, log into the cPanel.
Provide Access to The New Hosting Provider
When you’re confident that you have a complete backup of the entire set of files and other information stored on your old server, you can move on to step. You will need to provide the new web hosting service that grants servers the ability to access your account. Without access to your hosting account, they will be unable to make any modifications or changes to your site.
You must have an account username and password to log in. It is essential to change all of the information associated with your account and then switch it to align with the new owner’s information. It could be modifying the contact email, billing details, and all personal information.
Add Email Accounts On The New Server
The first step to switching your website’s DNS is to gather and connect all email accounts associated with your current site on the server you are moving to. It is an essential step to take when changing your website’s DNS to an alternative hosting service.
In obtaining an archive of all the databases and files on your site, It is essential not to forget the email addresses on your present website. When these accounts are transferred onto the chosen server, you can change the DNS for your website and move on with the process without a hitch.
Transfer Website Files to a New Host
After you have gathered all the data files on the current site and created a secure backup, you can begin moving them to the new host. It is now possible to transfer the compressed website files and the information from your previous server onto your new host’s servers.
Test Your New Website on a New Web Hosting Server
After you have successfully collected all the data, compressed it, and transferred all of the information and data from the old server to your newly chosen server, you will receive an exact mirrored website with an interim URL ready to be checked by a person who has access to it.
If you are checking your site’s performance at this point, ensure that it’s operating to your specifications and is entirely satisfactory.
Please verify that all information, images, hyperlinks or accounts function precisely as they are supposed to and work according to how they are supposed to. Examine any defects, issues or problems now and sort them out immediately to avoid any unnecessary moving around and any problems at a later time.
It would help if you found the right solution for each minor and major issue now to avoid any disruptions to the functioning of your site.
Last Thoughts to Conclude It All
After you’ve verified that your site is operating correctly and that all problems are resolved, you can end your hosting account with your host server of choice. Although it’s not a choice attempting to have an unbeatable downtime for your website on this site is the primary sign of an effective transfer of your site from one host to the next.
In very few circumstances, you can achieve zero downtimes. Still, suppose you adhere to the steps above effectively and efficiently. In that case, you can allow the site to experience the shortest downtime possible and guarantee the continuous operation of your website.